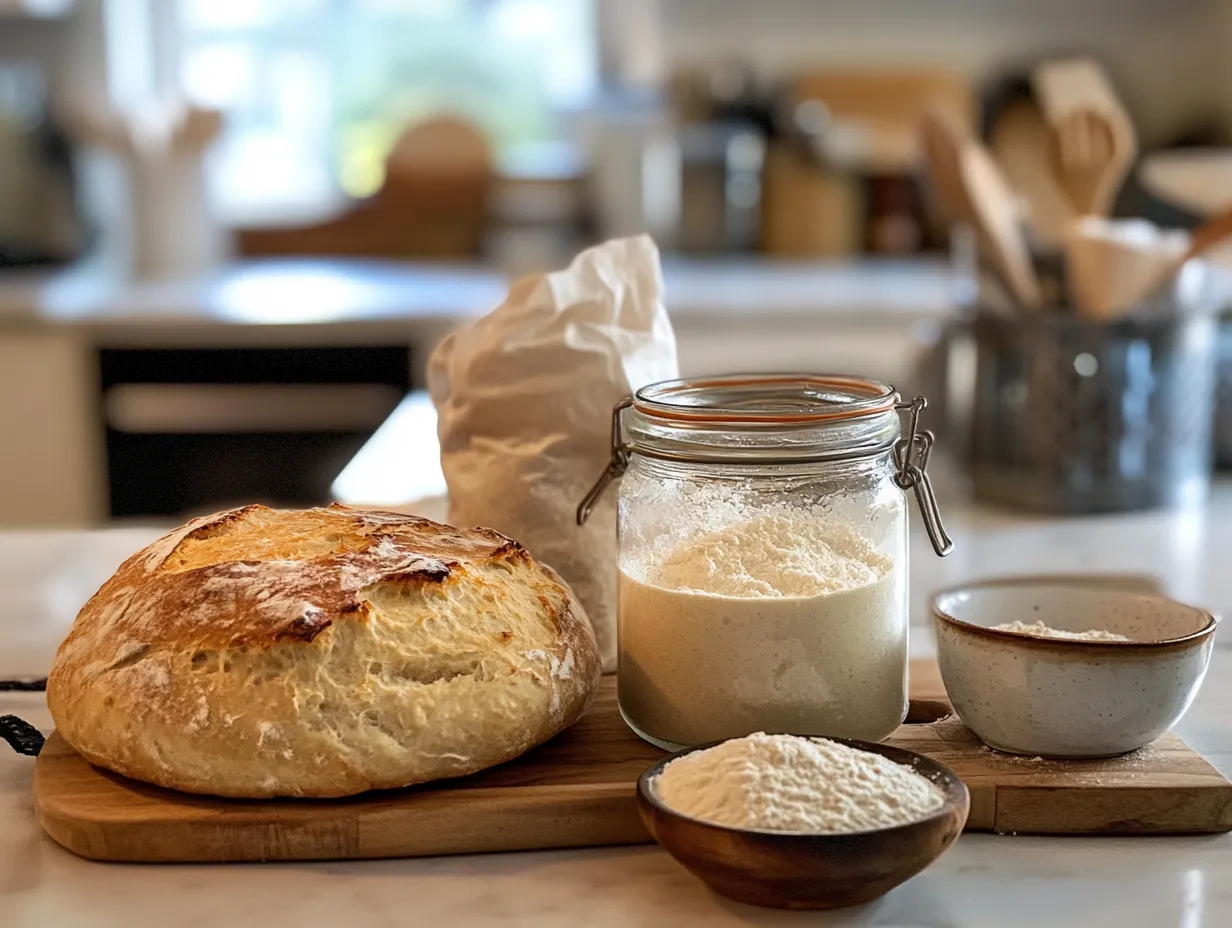
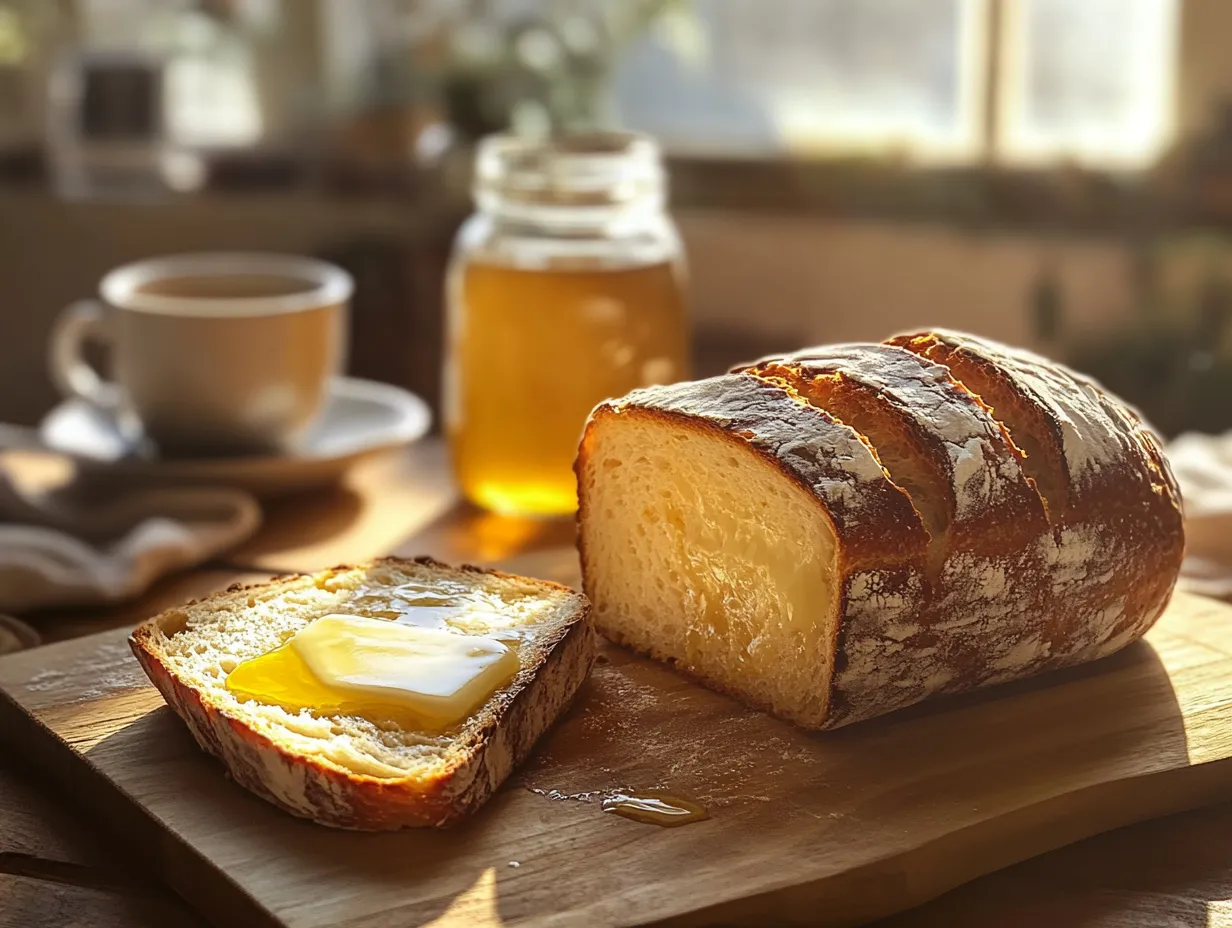
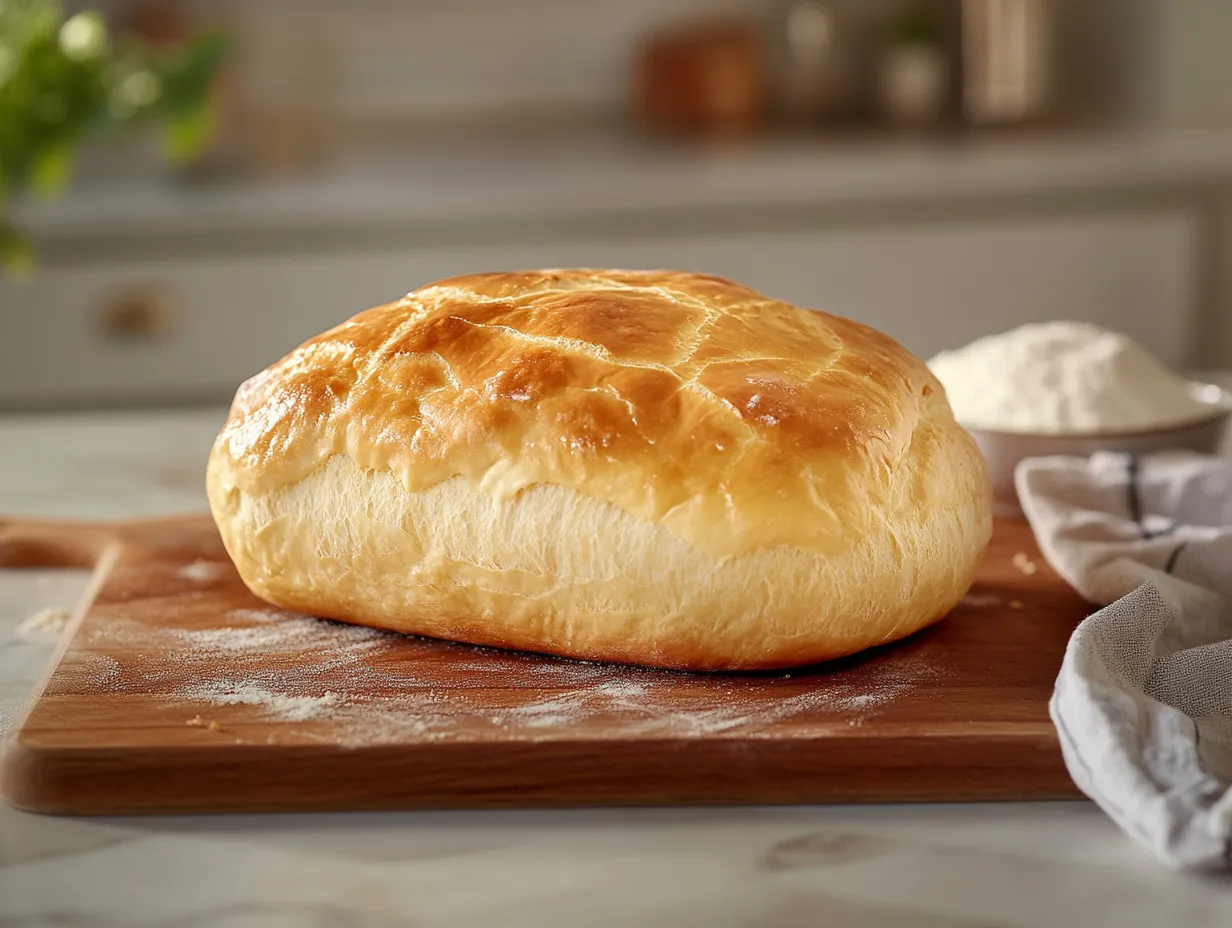
Sourdough bread has taken the baking world by storm, thanks to its deep, complex flavor and rustic appeal. For those who want to make this iconic bread at home, the process may seem daunting at first. But with the right guidance, making your own sourdough loaf becomes an enjoyable, rewarding experience. This detailed guide will walk you through the steps, providing tips, techniques, and variations to help you perfect your sourdough baking skills.
Why Sourdough?
Sourdough bread is unique for several reasons. First, it relies on a naturally fermented sourdough starter for leaving instead of commercial yeast. This starter contains wild yeast and beneficial bacteria, which give sourdough its distinctive tang and texture. The longer fermentation process also makes for a deeply flavorful bread that’s unparalleled by store-bought loaves.
Whether you’re drawn to sourdough for its ancient methods or simply want to try your hand at making something deliciously homemade, this recipe will guide you step by step.

Tools and Ingredients You Need
To make great sourdough bread, you’ll need a few essential tools and ingredients. These items ensure that your bread-making process is smooth and efficient.
Tools:
- Digital kitchen scale: For precise ingredient measurements.
- Proofing basket (banneton): This supports the dough during its final rise.
- Dough scraper: Helps with handling sticky dough.
- Lame or sharp blade: Used to score the bread for better oven spring.
- Dutch oven: A heavy-duty pot that traps steam to create a crispy crust.
- Instant-read thermometer: Ensures the dough reaches the perfect internal temperature for baking.
Ingredients:
- Sourdough starter: The wild yeast used for fermentation.
- Bread flour: Offers a strong gluten structure, essential for good sourdough.
- Water: Hydrates the dough and helps fermentation.
- Salt: Adds flavor and strengthens gluten.
If you’re still deciding which flour to use, this guide to flour types can help you choose the best option for your sourdough baking.
Preparing Your Sourdough Starter
The first key to making sourdough bread is having a healthy, active sourdough starter. If you haven’t made one yet, don’t worry—it’s easy but takes some time to get going.
How to Create a Starter:
- In a clean jar, mix equal parts whole grain flour and water.
- Cover the jar loosely and place it in a warm spot. Stir the mixture daily and discard half of it before adding more flour and water (same equal parts).
- After 5-7 days, your starter should become bubbly and active. It will have a pleasant, slightly tangy smell and should double in size after feeding.
How to Maintain the Starter:
To keep your starter ready for future baking, feed it every day if it’s stored at room temperature or once a week if it’s kept in the fridge. Each time you feed your starter, discard half of it and refresh it with equal amounts of flour and water. When using the starter for bread, ensure it’s at peak activity—this usually means it has doubled in size after feeding.
For a deeper understanding of temperature control during fermentation, this fermentation temperature guide provides useful tips on managing dough at different stages.
The Sourdough Bread Recipe: Step-by-Step Process
Once your starter is ready, it’s time to move on to the sourdough recipe. Here’s a detailed breakdown of each step to guide you through the process.
Step 1: Autolyze (Mixing the Dough)
Begin by combining 500g of bread flour and 300g of water in a large mixing bowl. This mixture is your dough’s base. Stir until all the flour is hydrated, then let the mixture rest for 30 minutes. This rest period is known as the autolyze, which allows the flour to fully absorb the water. It also helps jumpstart gluten development, leading to a stronger dough.
- Pro Tip: During the autolyse, don’t add the starter or salt yet. This step is purely for the flour and water to come together.
Step 2: Add the Starter and Salt
After the autolyse, add 100 g of active sourdough starter and 10 g of salt to the dough. Mix well to incorporate all the ingredients evenly. You can use your hands to squash the dough together, ensuring that the starter and salt are fully mixed in. The dough will be sticky at first, but that’s completely normal.
Step 3: Stretch and Fold
Instead of traditional kneading, sourdough dough benefits from a gentler technique called stretch and fold. This technique builds gluten without overworking the dough.
Here’s how to do it:
- Grab one side of the dough, stretch it up, and fold it over the center.
- Rotate the bowl a quarter turn, then repeat this stretching and folding motion for all four sides.
- Rest the dough for 30 minutes, then repeat the stretch and fold process four times over the course of 2-3 hours.
This method not only strengthens the dough but also allows it to retain air bubbles, resulting in a lighter loaf.
Step 4: Bulk Fermentation
After the stretch and fold process, it’s time for the bulk fermentation. Cover the dough and let it rise at room temperature for 4-6 hours. During this time, the wild yeast and bacteria from the starter will ferment the dough, producing gas and causing the dough to rise.
- Pro Tip: To ensure a proper rise, check if the dough has nearly doubled in size and has visible bubbles.
Step 5: Shaping the Dough
Once bulk fermentation is complete, turn the dough out onto a lightly floured surface. Gently shape it into a round or oval loaf. Let the dough rest for 15-20 minutes. After this rest, reshape the dough by folding the edges toward the center, creating surface tension.
Place the shaped dough into a well-floured banana or a bowl lined with a kitchen towel, seam side up. Cover it and let it rest for an additional hour at room temperature or refrigerate it overnight for the second rise (cold proofing).
Overnight Proofing: Developing Flavor and Structure
For the best results, allow the dough to proof overnight in the refrigerator. This slow, cold fermentation allows for better flavor development and improves the dough’s strength, making it easier to handle during baking. The next day, the dough should be well-proofed, with a smoother surface and more pronounced air bubbles.
Scoring and Baking
Now comes the most exciting part—baking your bread!
Step 6: Preheat and Score the Dough
Preheat your oven to 450°F (230°C) and place your Dutch oven inside to heat up. Scoring the dough helps it expand properly during baking. Use a sharp blade or a lame to make a shallow cut across the surface of the dough. You can get creative with scoring patterns, but a simple straight slash works perfectly fine.
Step 7: Bake in the Dutch Oven
Carefully transfer the dough onto a piece of parchment paper, then place it into the hot Dutch oven. Cover with the lid and bake for 20 minutes. After 20 minutes, remove the lid and continue baking for another 20–25 minutes until the crust is a deep golden brown.
To ensure the bread is fully baked, check that the internal temperature reaches about 208°F (97°C). Let the bread cool on a wire rack before slicing.

Troubleshooting Common Sourdough Problems
No two loaves of sourdough bread will turn out exactly the same, especially when you’re first starting out. Here are some common issues bakers face and how to resolve them.
- Why is my dough so sticky? This is a common issue, especially for beginners. Sticky dough usually means the hydration level is too high or the dough hasn’t developed enough gluten. Next time, reduce the water slightly or try using a flour with higher protein content for better gluten development.
- My bread is too dense—what happened? Dense bread can result from under-fermentation. Make sure your dough has properly risen during bulk fermentation. If it hasn’t, give it more time to rise. A healthy starter and warm environment also play key roles in achieving the right texture.
- Why isn’t my sourdough crust crispy? A crispy crust is created by baking with steam, which is why a Dutch oven is so important. If you’re not using a Dutch oven, place a tray of water at the bottom of the oven to simulate steam. Removing the lid in the second half of the baking process will also help the crust develop its crunch.
Advanced Sourdough Techniques
Once you’ve mastered the basic recipe, you can start experimenting with more advanced techniques to further improve your sourdough game.
Using Higher Hydration Dough
High-hydration dough (75%-85% water) results in a more open crumb, which is the holy grail for many sourdough bakers. However, high-hydration dough can be tricky to handle due to its increased stickiness. Practice makes perfect here, and you can gradually increase the water content as you become more confident.
Adding Inclusions
After mastering the basic sourdough recipe, you can start experimenting with inclusions—additions that enhance flavor and texture. These can include seeds, herbs, nuts, or dried fruits. Here are a few ideas:
- Seeds: Add sesame, poppy, sunflower, or pumpkin seeds for extra crunch.
- Nuts: Pecans, walnuts, or almonds add a delightful texture.
- Herbs: Fresh rosemary, thyme, or garlic for savory flavor.
- Dried fruits: Raisins, apricots, or cranberries for a sweet twist.
To incorporate inclusions:
- Add them during the last set of stretch and folds so they are evenly distributed without disrupting the dough’s structure.
- Aim for about 10-15% of the dough’s total weight when adding inclusions.
Sourdough FAQ: Addressing Common Questions
1. How long does it take to make sourdough bread?
The entire process from mixing to baking can take about 24 hours, including the overnight proof. Active preparation time, however, is only a few hours spread out during the day.
2. Can I make sourdough bread without a Dutch oven?
Yes, though a Dutch oven helps create the best results. Without it, try placing a tray of water at the bottom of your oven to create steam, which is essential for developing a good crust.
3. Why is my dough not rising?
If your dough isn’t rising, it could be due to an inactive starter or under-proofing. Make sure your sourdough starter is bubbly and has doubled in size before adding it to the dough. Ambient temperature also affects rising, so consider using a warm spot to proof your dough.
4. How can I make my sourdough bread more tangy?
To increase the sourness, extend the cold proofing time or use a “hungrier” starter that hasn’t been fed recently. A longer fermentation period allows for the development of more lactic acid, which contributes to a tangier flavor.
Final Thoughts on Perfecting Sourdough
Making sourdough bread is as much an art as it is a science. The beauty of this process lies in the subtle variables you can control, from temperature and hydration levels to fermentation time and scoring patterns. By following the steps outlined in this guide, practicing patience, and making adjustments based on your results, you’ll be well on your way to baking the perfect sourdough loaf.
If you’re ready to take your bread-making journey further, explore more resources and tutorials online. For example, this flour guide can help you better understand the impact of different flour types on your dough, and this video on shaping and scoring techniques will help you improve your technique for more professional-looking loaves.
PrintSourdough Bread Recipe
- Prep Time: 30 minutes
- Cook Time: 45 minutes
- Total Time: 6-8 hours (excluding starter preparation)
- Yield: 1 loaf (about 10-12 slices)
- Category: Bread
- Method: Baking
- Cuisine: Artisan
Ingredients
For the Sourdough Starter:
- 1 cup (120 g) all-purpose flour
- 1/2 cup (120 ml) water (filtered or bottled, at room temperature)
For the Bread:
- 1 cup (240 g) active sourdough starter
- 3 1/2 cups (420 g) bread flour (or all-purpose flour)
- 1 1/2 cups (360 ml) water (filtered or bottled, at room temperature)
- 1 1/2 teaspoons (9 g) salt
Instructions
Step 1: Prepare the Sourdough Starter
- If you don’t already have a sourdough starter, mix 1 cup of flour and 1/2 cup of water in a jar. Stir until combined, cover loosely, and let it sit at room temperature for 24 hours.
- Discard half of the starter and feed it with another 1 cup of flour and 1/2 cup of water. Repeat this process daily for 5-7 days until the starter is bubbly and active.
Step 2: Mix the Dough
- In a large mixing bowl, combine 1 cup of active sourdough starter, 3 1/2 cups of bread flour, and 1 1/2 cups of water. Mix until no dry flour remains.
- Cover the dough and let it rest (autolyse) for 30 minutes.
Step 3: Add Salt and Knead
- After the autolyse, add 1 1/2 teaspoons of salt to the dough.
- Wet your hands and gently knead the dough in the bowl for 5-10 minutes until it becomes smooth and elastic.
Step 4: Bulk Fermentation
- Cover the dough and let it rise at room temperature for 4-6 hours, folding it every 30 minutes during the first 2 hours. To fold, grab one side of the dough, stretch it upward, and fold it over itself. Rotate the bowl and repeat on all sides.
Step 5: Shape the Dough
- Lightly flour your work surface and turn the dough out onto it.
- Gently shape the dough into a round or oval loaf, depending on your preference.
- Place the shaped dough into a floured proofing basket or a bowl lined with a floured kitchen towel.
Step 6: Final Proof
- Cover the dough and let it proof at room temperature for 1-2 hours, or refrigerate overnight for a slower, more flavorful rise.
Step 7: Preheat and Prepare
- Preheat your oven to 475°F (245°C) with a Dutch oven or baking stone inside.
- If the dough was refrigerated, let it sit at room temperature for 30 minutes before baking.
Step 8: Bake the Bread
- Carefully transfer the dough to the preheated Dutch oven or onto the baking stone.
- Score the top of the dough with a sharp knife or razor blade to allow for expansion.
- Cover the Dutch oven with a lid (if using) and bake for 20 minutes.
- Remove the lid and bake for an additional 20-25 minutes, or until the crust is deep golden brown.
Step 9: Cool and Serve
- Remove the bread from the oven and let it cool completely on a wire rack before slicing.
Notes
- The key to successful sourdough is an active starter. Make sure your starter is bubbly and doubles in size within 4-6 hours of feeding before using it in the recipe.
- Adjust the hydration level of the dough by adding more or less water, depending on the flour you use and your desired dough consistency.


