

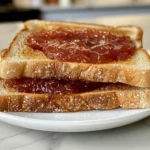
There’s just something special about opening a jar of homemade jam in the dead of winter. It’s like sunshine in a jar, a reminder of warm summer days and sweet, juicy fruit. The golden color of the homemade nectarine jam, spread on a piece of toast, with a bit of salty butter… oh, just thinking about it makes my mouth water! The best part? It’s incredibly easy to make, even if you’ve never canned anything before. I was a canning newbie myself! But with a few simple steps and a little patience, you’ll have jars of this delicious nectarine preserves ready to enjoy all year long.
Even on my busiest days, I know I can whip up a batch of this easy nectarine jam. The kids will eat it with peanut butter, on scones, or just by the spoonful straight from the jar!
Trust me, once you try this homemade nectarine jam, you’ll never go back to store-bought. It’s become such a staple in our house!
Ingredients
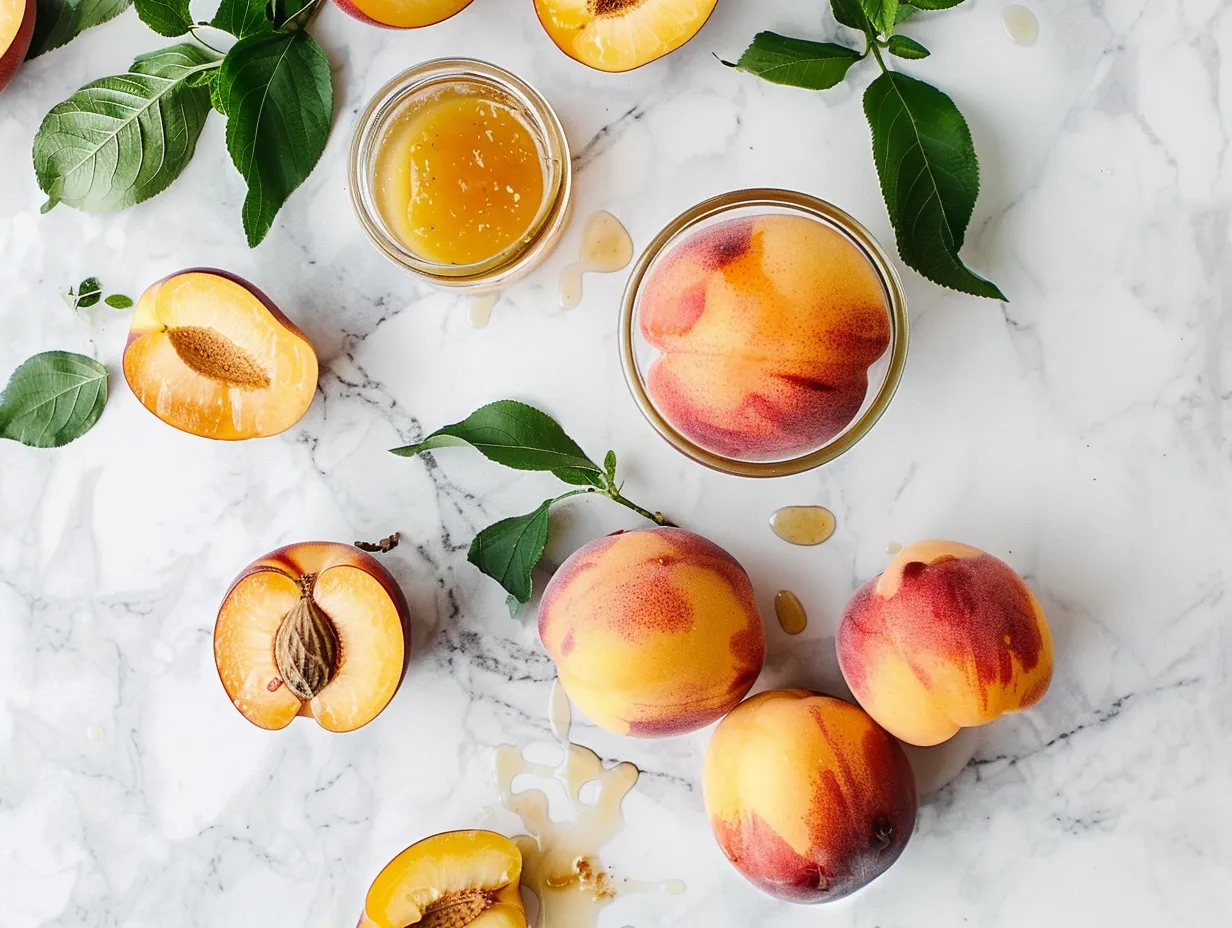
- 4 pounds ripe nectarines, pitted and chopped: The riper, the better! Look for nectarines that are fragrant and slightly soft to the touch.
- 4 cups granulated sugar: I know it seems like a lot, but sugar is essential for preserving the jam and achieving that perfect consistency.
- 1/4 cup freshly squeezed lemon juice: The lemon juice not only adds a bright, tangy flavor but also helps the jam set properly.
- 1/2 teaspoon almond extract (optional): This adds a subtle, warm note that complements the nectarines beautifully, but feel free to leave it out if you’re not a fan.
- 1/4 cup water: You do not need much water. Just enough to get things moving.
Personal Tips
- My secret to a truly flavorful jam is to use the best quality nectarines I can find. I love visiting our local farmer’s market for the freshest, most flavorful fruit. If you cannot get your hands on fresh nectarines, using frozen is definitely possible! Just make sure they are fully thawed before using.
- After burning sugar (I know, so embarrassing!), I learned that it’s crucial to keep a close eye on the jam as it simmers. Sugar can burn quickly, so stir frequently and adjust the heat as needed.
- My family prefers a smoother jam, so I sometimes use an immersion blender to break down the fruit slightly after it has cooked for a while. However, you can leave it chunky for a more rustic texture.
Family Insights
- My kids aren’t big fans of tart flavors, so I usually add a touch more sugar than the recipe calls for. You can adjust the sweetness to your liking.
- My husband loves a hint of spice in his jam, so I sometimes add a pinch of ground ginger or cinnamon for a little extra warmth.
Shopping Wisdom
- I always buy my sugar in bulk from Costco, as it’s much more economical that way. Plus, I always have sugar on hand for all my baking adventures.
- If you can’t find fresh lemons, bottled lemon juice will work in a pinch. Just be sure to use a good quality brand for the best flavor.
Kitchen Secrets
- Here’s something my Grandma Rose taught me that changed everything: Before you start making the jam, place a small plate in the freezer. Then, when you think the jam is ready, you can spoon a little onto the cold plate and see if it sets up properly. If it wrinkles when you push it with your finger, it’s ready!
Ingredient Substitutions
- If you’re looking for a sugar-free option, you can use a sugar substitute like Stevia or Splenda. However, keep in mind that this may affect the texture and setting of the jam.
- For a vegan option, make sure your sugar is vegan-friendly, as some brands use bone char in the refining process.
Quality Guidelines
- When selecting nectarines, look for fruit that is fragrant, slightly soft to the touch, and free from blemishes.
- Use fresh lemon juice for the best flavor. Bottled juice will work in a pinch, but it won’t have the same bright, tangy taste.
Storage Tips
- Store unused portions of your sugar in an airtight container in a cool, dry place.
- Fresh lemons can be stored in the refrigerator for up to a week.
Cost-Saving Suggestions
- Making your own jam is actually much more cost-effective than buying it from the store. Plus, you get to control the ingredients and customize the flavor to your liking.
- Shop for nectarines when they’re in season, as they will be much cheaper and more flavorful.
Step-by-Step Instructions
- Prepare the Nectarines: Wash, pit, and chop the nectarines into small pieces. The smaller the pieces, the smoother your jam will be.
- Combine Ingredients: In a large, heavy-bottomed pot, combine the chopped nectarines, sugar, lemon juice, and water. Stir well to ensure the sugar is evenly distributed.
- Bring to a Boil: Place the pot over medium-high heat and bring the mixture to a rolling boil, stirring constantly to prevent sticking.
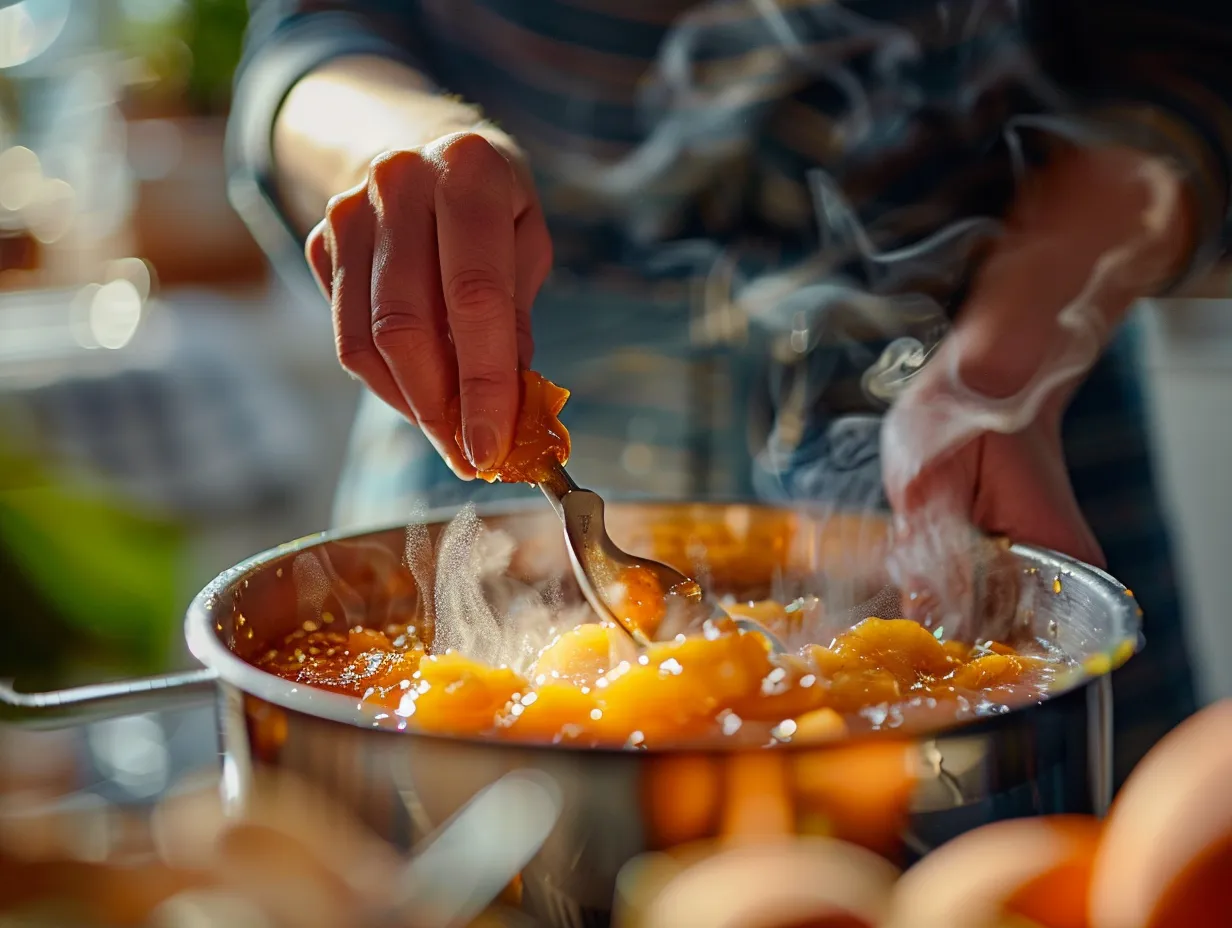
- Simmer and Thicken: Once the jam reaches a rolling boil that cannot be stirred down, reduce the heat to medium and continue to simmer, stirring frequently, for about 20-30 minutes, or until the jam has thickened to your desired consistency. The simmering process is where the magic truly happens. As the mixture bubbles away, the water content reduces, concentrating the flavors of the nectarines and allowing the sugar to caramelize slightly, contributing to that rich, complex taste we all love in a good homemade jam. Remember to keep a close eye on the pot and stir regularly to prevent sticking and burning, especially towards the end of the cooking time when the jam thickens more rapidly.
- Test for Setting: To test if the jam is ready, place a small spoonful of jam onto a chilled plate from the freezer. Let it sit for a minute, then push it with your finger. If it wrinkles, it’s ready. If not, continue to simmer and test again in a few minutes.
- Add Almond Extract (Optional): Stir in the almond extract, if using, during the last few minutes of cooking.
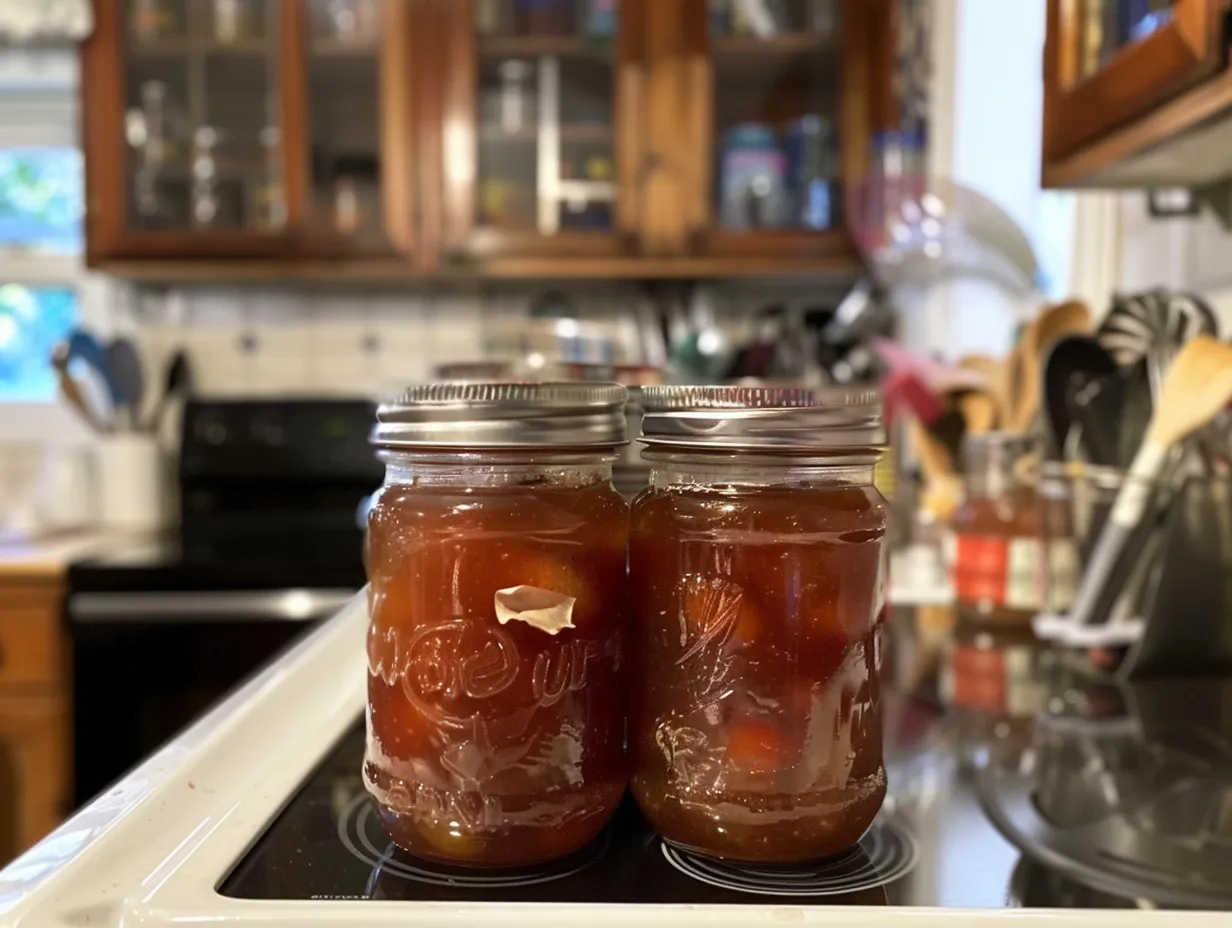
- Cool and Store: Let the nectarine jam cool and enjoy or store it in jars for later use. If you plan to store your jam for an extended period, proper canning techniques are essential to ensure its safety and longevity. This involves sterilizing your jars and lids, filling the jars with hot jam, and processing them in a boiling water bath to create a vacuum seal. When done correctly, this process prevents spoilage and allows you to enjoy your homemade nectarine jam for up to a year or more. Always check the seals of your jars before storing them to ensure they are properly sealed. The lid should be slightly concave and not flex when pressed.
Personal Experience
- I learned the hard way that it’s essential to use a large enough pot when making jam. The mixture will bubble up quite a bit as it cooks, so you want to make sure you have plenty of room to prevent it from boiling over.
- Don’t worry if the jam looks a little watery at first. It will thicken as it cools.
- You’ll know it’s ready when your kitchen starts smelling absolutely amazing!
Friendly Guidance
- If you accidentally burn the jam, don’t panic! Just transfer it to a clean pot and continue cooking. The burnt flavor will usually dissipate as it simmers.
- If your jam doesn’t set up properly, you can try adding a little pectin to help it thicken.
Real-Life Tips
- I always make a double batch of this jam because it disappears so quickly in our house.
- My husband always asks me to make extra because he loves the leftovers for lunch.
Encouraging Support
- If you’re new to jam-making, don’t be afraid to experiment with different flavors and combinations. Once you get the hang of the basic technique, the possibilities are endless! Consider adding a splash of vanilla extract, a pinch of cardamom, or even a handful of chopped nuts to create your own signature jam.
Serving Ideas
In my house, this homemade nectarine jam is more than just something we spread on toast. It’s a versatile ingredient that makes its way into so many meals and snacks.
Family-Style Serving
- We love serving this jam with a simple cheese and cracker board for a quick and easy appetizer. The sweetness of the jam pairs perfectly with the savory cheese. Try pairing it with a tangy goat cheese, a creamy brie, or a sharp cheddar for a delightful contrast of flavors and textures.
- The kids also enjoy it as a topping for their waffles or pancakes on weekend mornings.
Personal Presentation Tips
- I like to drizzle a little honey over the jam when serving it on toast. It adds a touch of extra sweetness and makes it look so much fancier!
- I always store my jam in pretty glass jars. It makes it feel extra special. Consider adding a personalized label or a decorative ribbon to make it even more charming.
Real-Life Occasions
- This has become our go-to for Sunday brunches with the family. Everyone always raves about it!
- It’s also a great gift to give to friends and neighbors during the holidays. A jar of homemade nectarine jam is a thoughtful and heartfelt present that’s sure to be appreciated.
Honest Portion Talk
- This recipe says it makes about 4-6 jars of jam, but in our house, it barely fills 4 because we eat it so fast!
Family Preferences
- My daughter always asks for extra jam on her portion.
- My son prefers to eat it straight from the jar with a spoon (I try not to let him do that too often!).
Practical Leftover Ideas
- If we somehow have leftovers (which is rare), they make the best addition to a yogurt parfait. Layer the yogurt with granola and a dollop of nectarine jam for a delicious and nutritious breakfast or snack.
- You can also use it as a glaze for grilled chicken or pork. Brush the jam over the meat during the last few minutes of grilling for a sweet and sticky finish.
FAQs
Q: How long does homemade nectarine jam last?
A: When properly canned, homemade nectarine jam can last for up to two years in a cool, dark place. Once opened, it should be stored in the refrigerator and used within a few weeks.
Q: Can I use frozen nectarines to make jam?
A: Yes, you can use frozen nectarines to make jam. Just be sure to thaw them completely before using. Frozen nectarines may release more liquid than fresh nectarines, so you may need to cook the jam for a longer time to achieve the desired consistency.
Q: Do I need to use pectin to make nectarine jam?
A: Nectarines are naturally low in pectin, so you may need to add pectin to help the jam set properly. You can use powdered pectin or liquid pectin, following the instructions on the package.
Q: Can I reduce the amount of sugar in the recipe?
A: While you can reduce the amount of sugar in the recipe, keep in mind that sugar is essential for preserving the jam and achieving the proper consistency. If you reduce the sugar too much, the jam may not set properly and may spoil more quickly.
Q: Can I add other fruits to the jam?
A: Yes, you can add other fruits to the jam. Some popular additions include berries, peaches, and plums.
Q: My jam is too runny. What can I do?
A: If your jam is too runny, you can try cooking it for a longer time to evaporate more of the liquid. You can also add a little pectin to help it thicken. For more information, you can refer to the Home Food Preservation – Jams and Jellies or the USDA Complete Guide to Home Canning.
Conclusion
This homemade nectarine jam isn’t just a recipe; it’s a little piece of sunshine in a jar, a reminder of those warm summer days, and a tradition I’m so happy to share with my family. And the best part? It’s so much easier than you think!
Here are a few tips I’ve learned along the way:
- Always use a heavy-bottomed pot: This helps prevent the jam from sticking and burning.
- Stir frequently: Especially as the jam starts to thicken, to prevent sticking.
- Be patient: Jam-making takes time, so don’t rush the process.
My son loves it with peanut butter, while my daughter prefers it simply spread on toasted sourdough.
Don’t be intimidated – if I can make this on a busy weeknight, you can absolutely do this. I’d love to hear how this turns out for your family – drop me a comment! Happy cooking, and I hope this homemade nectarine jam becomes as beloved in your kitchen as it is in mine!
PrintAmazing Homemade Nectarine Jam: 6 Simple Steps
This nectarine jam recipe is easy to follow and yields a delicious, sweet spread perfect for toast, scones, or even as a glaze for meats.
- Prep Time: 20 minutes
- Cook Time: 20 minutes
- Total Time: 40 minutes
- Yield: 4-6 half-pint jars 1x
- Category: Jam & Jelly
- Method: Boiling
- Cuisine: American
Ingredients
- 2 pounds ripe nectarines, pitted and chopped
- 4 cups granulated sugar
- 1/4 cup lemon juice
- 1/2 teaspoon butter (optional, to reduce foaming)
Instructions
- Combine nectarines, sugar, lemon juice, and butter (if using) in a large, heavy-bottomed pot.
- Stir over medium heat until the sugar dissolves.
- Bring the mixture to a rolling boil, stirring occasionally to prevent sticking.
- Continue to boil until the jam reaches 220°F (104°C) on a candy thermometer or until it thickens to your desired consistency (about 10-15 minutes).
- Remove from heat and skim off any foam from the surface.
- Ladle hot jam into sterilized jars, leaving 1/4 inch headspace. Process in a boiling water bath for 10 minutes.
Notes
For best results, use a candy thermometer to ensure the jam reaches the proper setting point. Sterilize jars properly to prevent spoilage. Adjust sugar based on the sweetness of your nectarines.
Nutrition
- Serving Size: 1 tbsp
- Calories: 50
- Sugar: 12g
- Sodium: 0mg
- Fat: 0g
- Saturated Fat: 0g
- Unsaturated Fat: 0g
- Trans Fat: 0g
- Carbohydrates: 13g
- Fiber: 0g
- Protein: 0g
- Cholesterol: 0mg
Keywords: Nectarine, Jam, Homemade, Canning